
Masking Stains
Victoria, Australia
High on the list of clinical frustrations for dentists is masking out discolouration and stains on incisors and canines. Highly opaque tooth coloured masking agents inevitably create a flat lifeless laminate that bears little resemblance to the surrounding natural teeth.
The current generation of nano micro hybrid resins have amazing optical properties that with a little clinical assistance are capable of masking a discoloured tooth to match the colour profile of the adjacent teeth. The combination of a white opaquer as a base, overlaid with a nano micro hybrid resin with a thin layer of a microfill resin as a surface layer is usually sufficient to aesthetically mask the most obstinate discolouration.
TECHNIQUE
The operative process of masking a discoloured tooth is described using a glossy black surface at a base to emphasize how effective this technique is.
Surface preparation involves removal the biofilm and the application a preferred bonding agent. The bond should be cured prior to masking.
Apply a white opaquer in layers so that the opaquer slowly masks out the underlying surface and reaches a VALUE similar to the adjacent teeth. In other words the more discoloured the tooth the thicker the layer of opaquer required to mask it. The correct value or brightness of the laminate is the single most important factor in merging a stained tooth into the dentition. Figure 1
After photo curing the opaquer layer apply a thin layer of resin bond then choose a nano micro hybrid composite that is one full shade darker than the eventual shade required for the finished laminate. This is due to the combination of the white opaquer beneath and the high value of the overlaying incisal shade microfill lightening the completed laminate. If the shade of the adjacent teeth is an A2, choose an A3 shade for the nano micro hybrid composite resin. It is essential that this layer is applied very sparingly so that the total thickness of the opaquer and nano micro hybrid resin does not exceed half a millimeter. Figure 2
After photo curing apply a thin layer of resin bond followed by a layer of incisal shade microfill composite resin. Microfill resins are slightly translucent, giving depth to the laminate, they exhibit Raleigh scattering so they tend to sparkle in natural light and the high value associated with incisal shades helps to accentuate the vitality seen in natural teeth. Figure 3
Photocure for 20 seconds then contour and polish the laminate using appropriate discs and burs. The completed laminate should have a maximum thickness of less than 1 millimeter. Figure 4
When light passes through the laminate it is reflected from the white opaquer at the base and diffuses out from the surface picking up the shade from the nano micro hybrid resin. The microfill nano micro hybrid interface diffracts the light giving the impression of depth even though the laminate is less than 1 millimeter thick. Furthermore, the slight translucency of the opaque base enables a small amount of light to diffuse from the tooth underneath adding to the depth effect. Figure 5
The effect of the opaquer and microfill layers has upon the nano micro hybrid resin is evident by comparing the laminate on the left and after the addition of an opaquer and microfill to the laminate on the right. The left hand laminate is grey and lifeless whilst on the right there is much more brightness and vitality coming from the specimen. Figure 6
CLINICAL EXAMPLE
The clinical case shows a middle aged male with two non vital central incisors with an unaesthetic crown on the right central incisor. Figure 7
Surface preparation involved cutting 4 undercut slots in the labial facing of the crown to create some mechanical retention. Following this surface bioload was removed from both teeth and the dark cervical staining on 21 was gently disked away. The surfaces were etched and a dentine bonding agent applied. A layer of white tint was sparingly applied to each tooth until the discolouration was almost masked out and the value the same as the lateral incisors. As metal was showing in the slots on 11 and the cervical area was darker more layers of opaquer were required on 11 than 21.
A layer of A4 nano micro hybrid resin was applied over the opaquers, slightly darker than adjacent lateral incisors, shade A3. The nano micro hybrid was sparingly applied so as just to mask out the white shade from the opaquer beneath. After photo curing a layer of resin bond was applied and a thin layer of incisal shade micro fill resin applied over the labial surfaces. Further to this, paper points were placed interproximally and using a Mylar strip incisal shade was applied to the proximal surfaces of the central incisors.
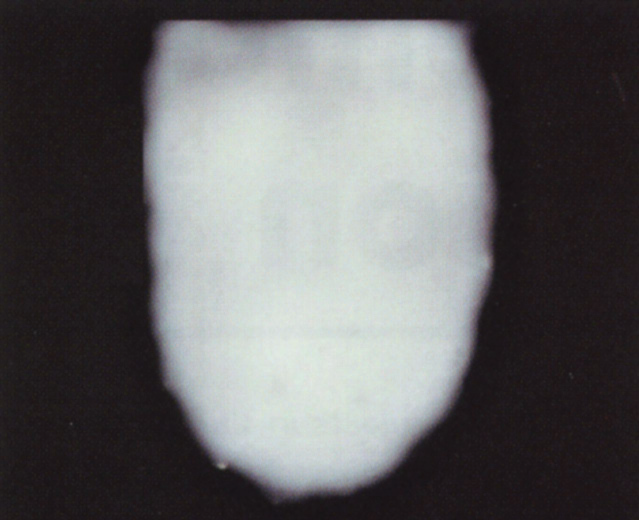
Fig 1: Base Layer of White opaque of sufficient intensity to achieve the same value as adjacent teeth.

Fig 2 : Next Layer Place hybrid resin one shade darker then adjacent teeth
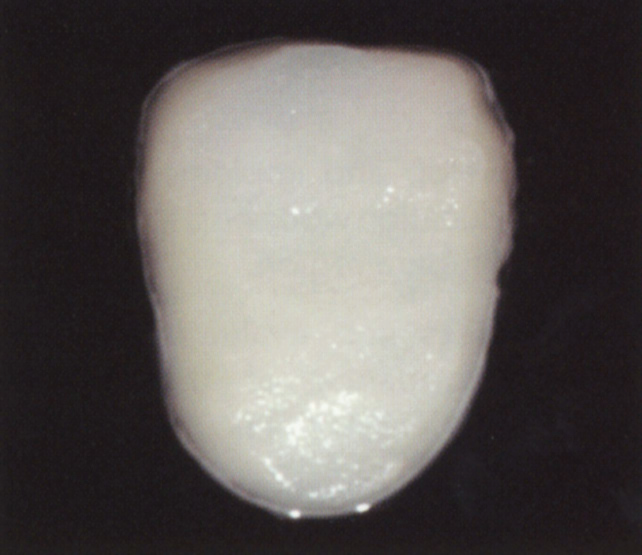
Fig 3: Surface layer of incisal shade microfill resin to give depth and brightness to laminate.

Fig 4: completed laminate should be no more than 1mm in thickness.
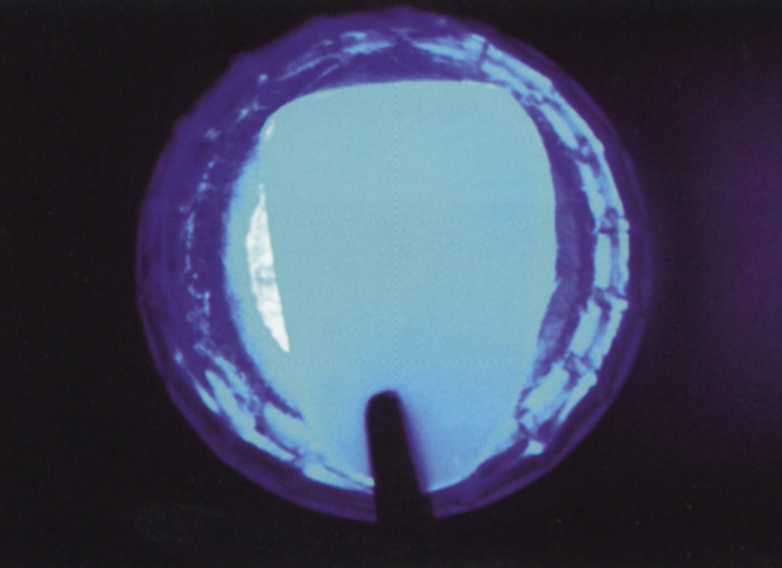
Fig 5: Slight Translucency enhance optical depth of laminate.
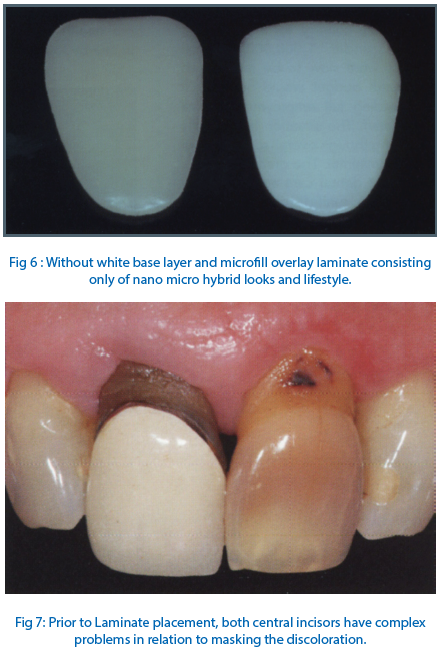

Fig 8: Completed laminates blending comfortably with adjacent lateral incisors.
Unfortunately the range of tooth shades in patient’s mouths prevents this simple step by step process working in all clinical situations. Multiple shades of nano micro hybrids can be useful and Resin Modified Glass Ionomer Cement has excellent masking properties and can sometimes be used below the microfill layer.
If nothing else works there is always the “pencil sharpener” option and delegating a ceramist to worry about getting the right shade.
DISCLAIMER
Published in the Australia Dental Association News bulletin july 2006.Reprinted with permission of editor and author.
Disclaimer from Guident
The views and opinions expressed in articles published in Guident are solely those of the authors and do not necessarily reflect the views of the editors, the editorial board or the publisher, Ivory India. Guident does not endorse any product, technique or treatment described. Clinical content is intended for qualified dental and medical professionals and is not a substitute for individual clinical judgement. Guident, its editors and the publisher accept no liability for any consequence arising from the use of information published in the journal.
How to cite this article
Dr. Geoffrey M Knight. Masking Stains. Guident. 2015 Apr;8(5). Available from: https://guident.in/articles/aesthetic-dentistry/masking-stains.html

